This article is about Justworks Payroll. What product am I using?
- Log into Justworks Payroll. (http://payroll.justworks.com/login)
- Click on the Timecards tab on the left hand side.
- Click on Advanced Time Tracking on the top right corner.
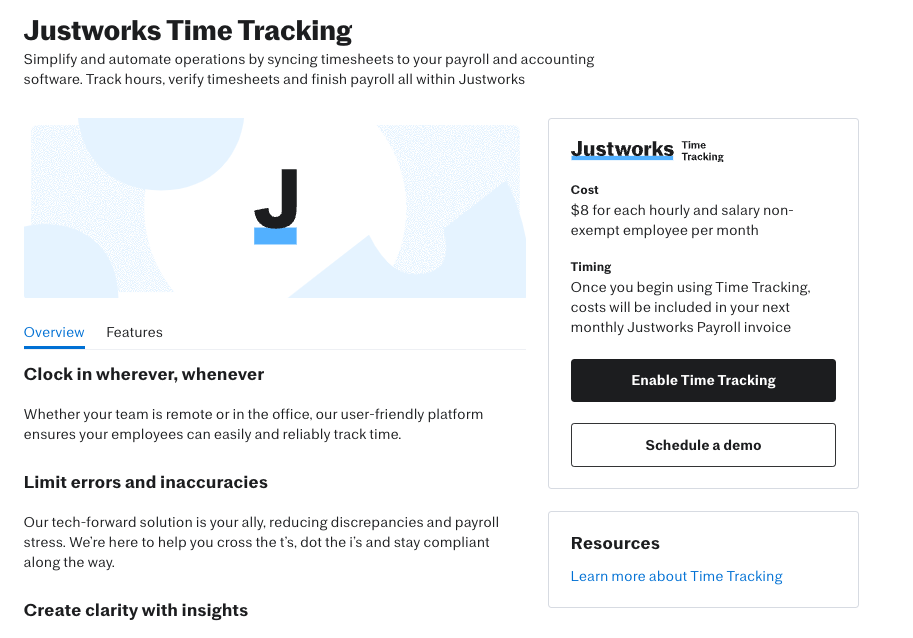
- After clicking Advanced Time Tracking, you will come to the Justworks Time Tracking overview page. On this page, you will click the black “Enable Time Tracking” button.
- Once you have confirmed that you would like to enable Time Tracking, you will see a load screen confirming that your Time Tracking account is being enabled.
- Once the Time Tracking account is enabled, you will be re-routed to the Time Tracking website. The first prompt you will see is the “Welcome to Justworks Time Tracking”. You can click “Got it, thanks!” once you’ve reviewed the Terms of Service.
- Once the Terms of Service has been confirmed, you will start on the “Get Started” page. On this page, you will walk through the following:
-
Reviewal of the Offices
- This information feeds over into Justworks Time Tracking from Payroll. If changes need to be made to the offices, you can click on the “Payroll” hyperlink.
- This information feeds over into Justworks Time Tracking from Payroll. If changes need to be made to the offices, you can click on the “Payroll” hyperlink.
-
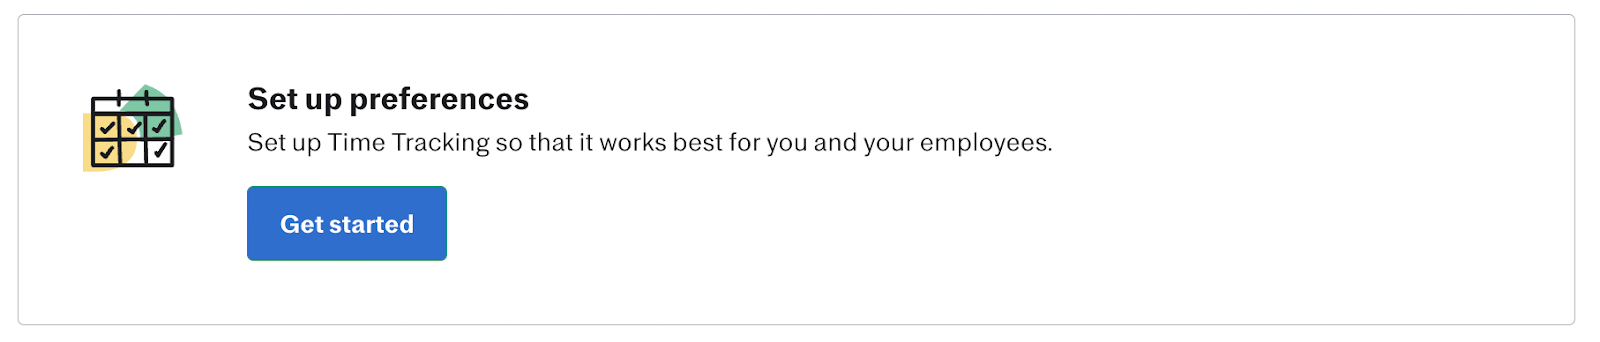
Setup of preferences in Justworks Time Tracking
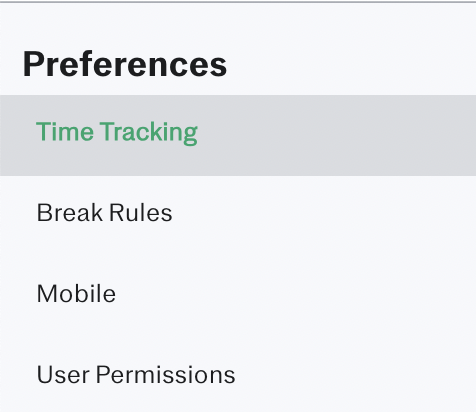
- Click on the “Get Started” button under Preferences to complete the following setup:
- Time Tracking
- Break Rules
- Mobile
- User Permissions
-
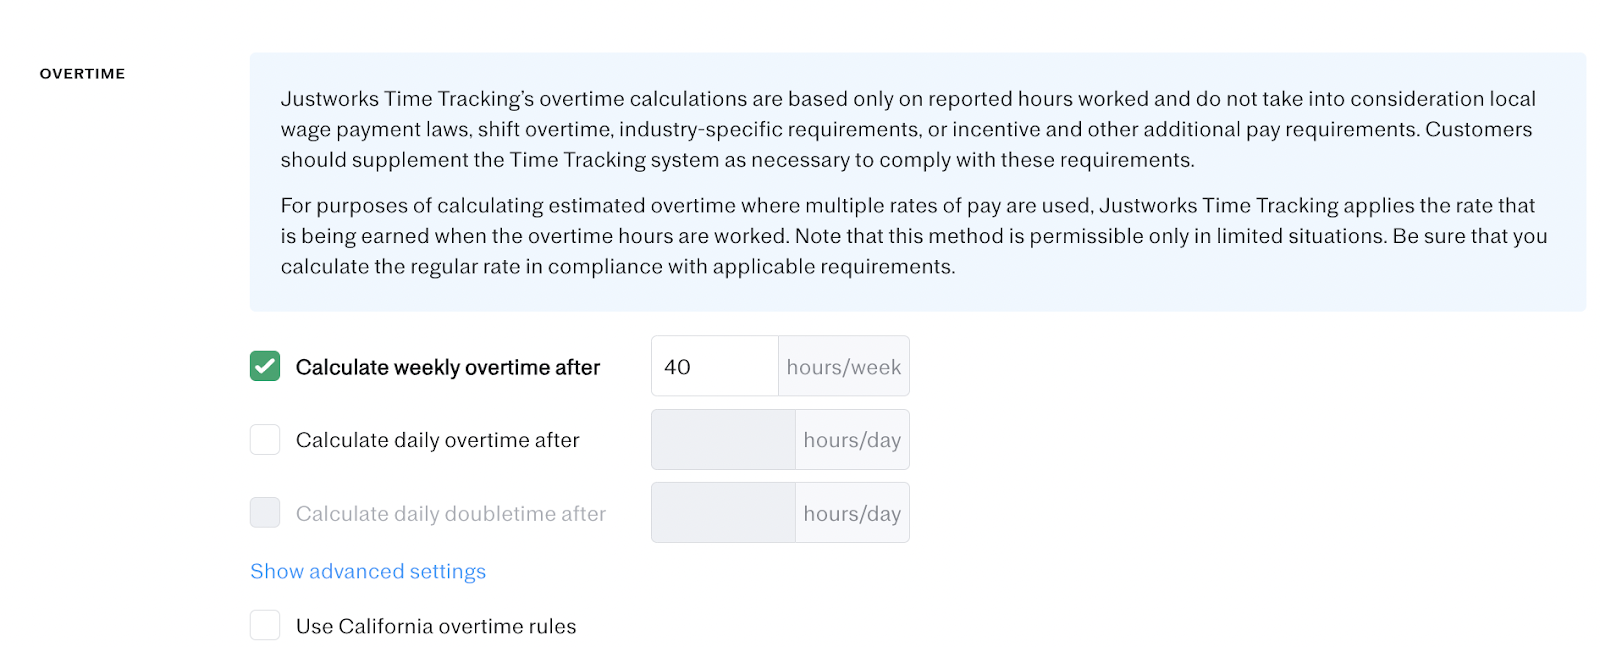
- After the preferences are set up, you can set up overtime rules by clicking on the little person icon on the top right corner and then clicking on Account > Offices.
- Click on the office and a small window will pop up. You will be able to set overtime rules on this page. Ex: setup for weekly overtime, daily overtime or California overtime.
-
Please note: You will need to make sure the employees are assigned to the correct office in Justworks Payroll as that will determine their overtime.
-
Please note: You will need to make sure the employees are assigned to the correct office in Justworks Payroll as that will determine their overtime.
- Click on the office and a small window will pop up. You will be able to set overtime rules on this page. Ex: setup for weekly overtime, daily overtime or California overtime.
- Click on the “Get Started” button under Preferences to complete the following setup:
-
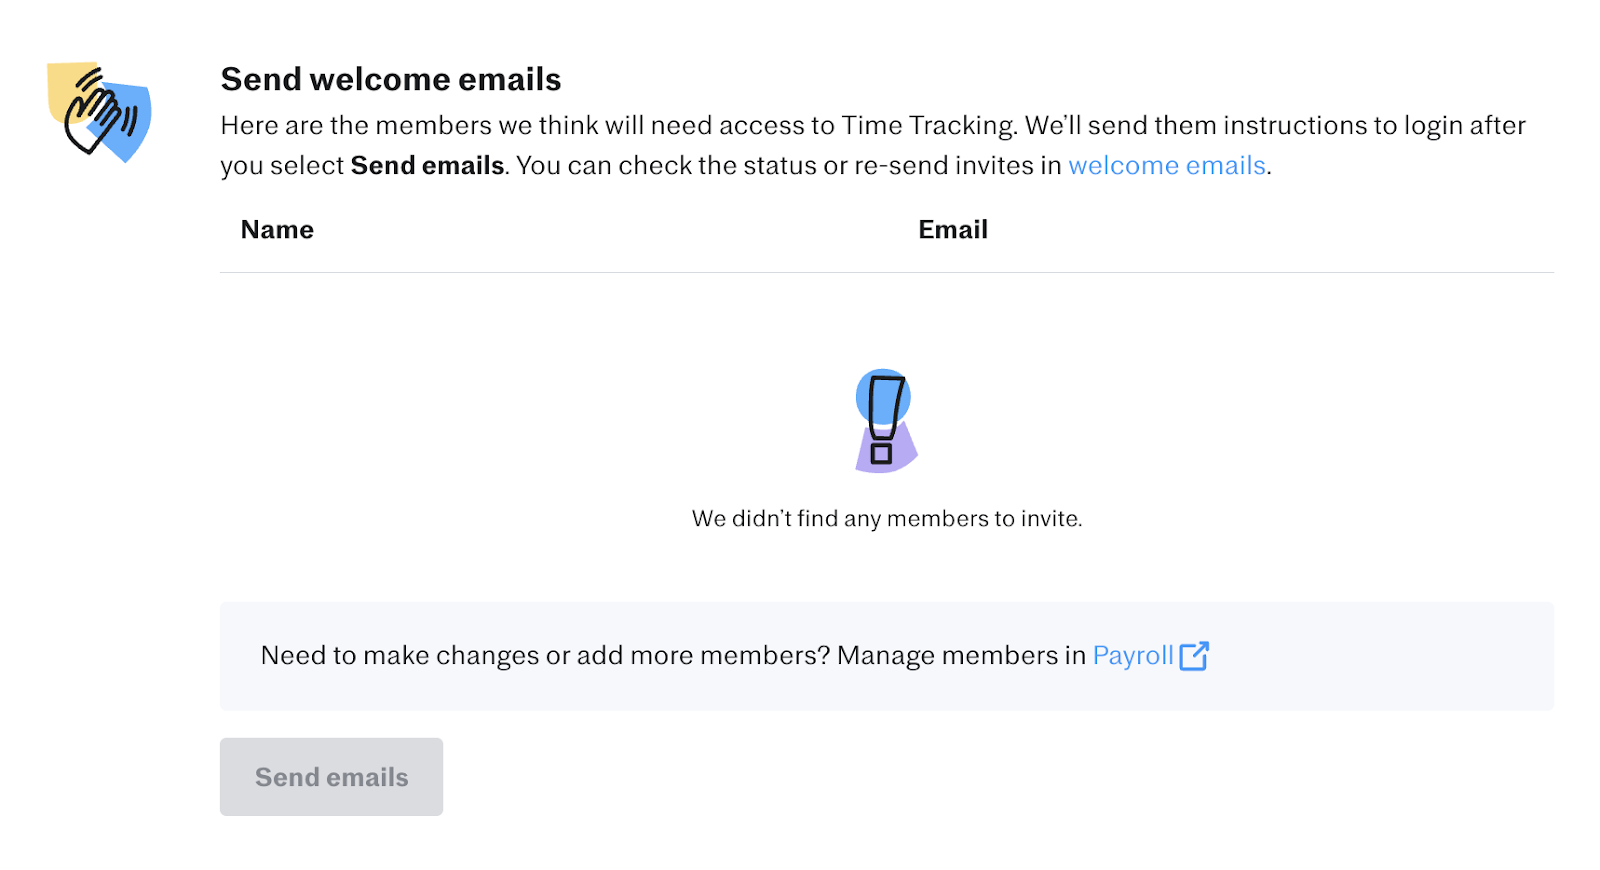
Send welcome emails on the “Get Started” page
- Once all preferences and overtime rules are configured, you can send a welcome email to your employees so they can get started with tracking their time!
- Once all preferences and overtime rules are configured, you can send a welcome email to your employees so they can get started with tracking their time!
-
Reviewal of the Offices


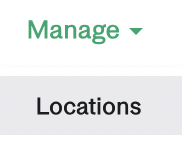
- After you have completed the “Get Started” page, the last step to complete your Justworks Time Tracking onboarding is to add the locations where your employees will be clocking in and out from. To complete this, you will need to go to Manage > Locations:
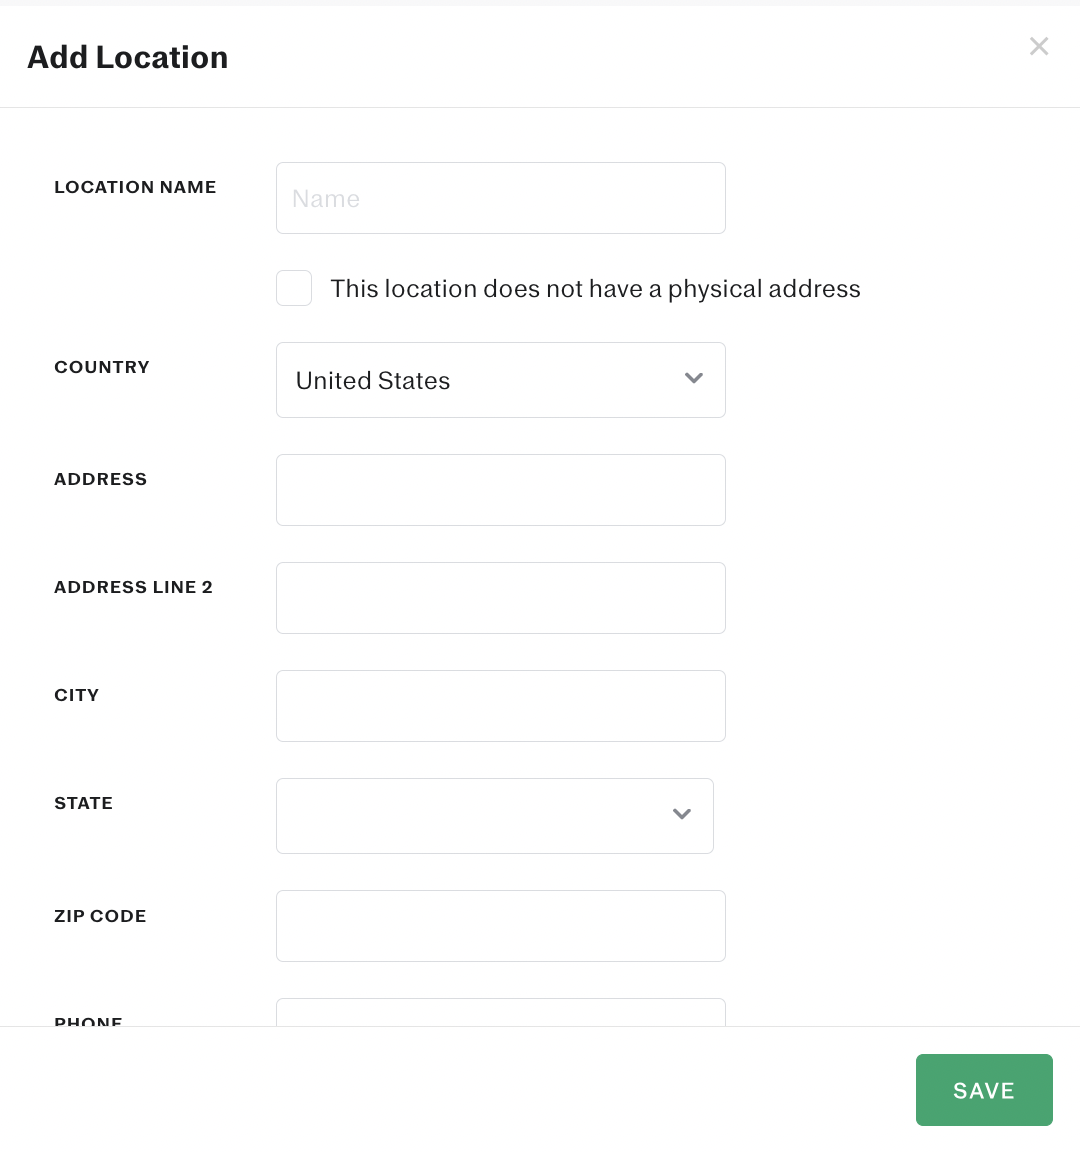
- On this page, you will be able to add as many locations as you’d like. You can do this by clicking on the green “Add Location” button:
- Once you’ve clicked on the “Add Location” button, you will see a window appear where you can put the details of the location. Once you’ve filled out the information of the location, you will click “Save”.
- On this page, you will be able to add as many locations as you’d like. You can do this by clicking on the green “Add Location” button:
- At this point, you have fully set up your Justworks Time Tracking account. Your employees can now start tracking their shifts!

Disclaimer
This material has been prepared for informational purposes only, and is not intended to provide, and should not be relied on for, legal or tax advice. If you have any legal or tax questions regarding this content or related issues, then you should consult with your professional legal or tax advisor.